Whirlpool GXW7230DAS Bedienungsanleitung
Stöbern Sie online oder laden Sie Bedienungsanleitung nach Küche Whirlpool GXW7230DAS herunter. Whirlpool GXW7230DAS Manuel d'utilisation Benutzerhandbuch
- Seite / 28
- Inhaltsverzeichnis
- LESEZEICHEN
- LI30OA/W10458667A 1
- TABLE OF CONTENTS 2
- TABLE DES MATIÈRES 2
- RANGE HOOD SAFETY 2
- IMPORTANT SAFETY INSTRUCTIONS 3
- INSTALLATION REQUIREMENTS 4
- Venting Requirements 5
- Electrical Requirements 6
- INSTALLATION INSTRUCTIONS 7
- Install Range Hood 8
- Connect Vent System 8
- Make Electrical Connection 9
- Install Vent Covers 9
- Complete Installation 9
- RANGE HOOD USE 10
- RANGE HOOD CARE 10
- A. Lens covers 11
- B. Screws 11
- WIRING DIAGRAM 12
- ASSISTANCE OR SERVICE 13
- AVERTISSEMENT 15
- EXIGENCES D'INSTALLATION 17
- Dimensions du produit 18
- Dimensions du placard 18
- Coude à 90˚ 19
- Bouche de 19
- Installation de la hotte 21
- UTILISATION DE LA HOTTE 24
- ENTRETIEN DE LA HOTTE 24
- (recyclage) : 25
- SCHÉMA DE CÂBLAGE 26
- ASSISTANCE OU SERVICE 27
- WHIRLPOOL CORPORATION 27
Inhaltsverzeichnis
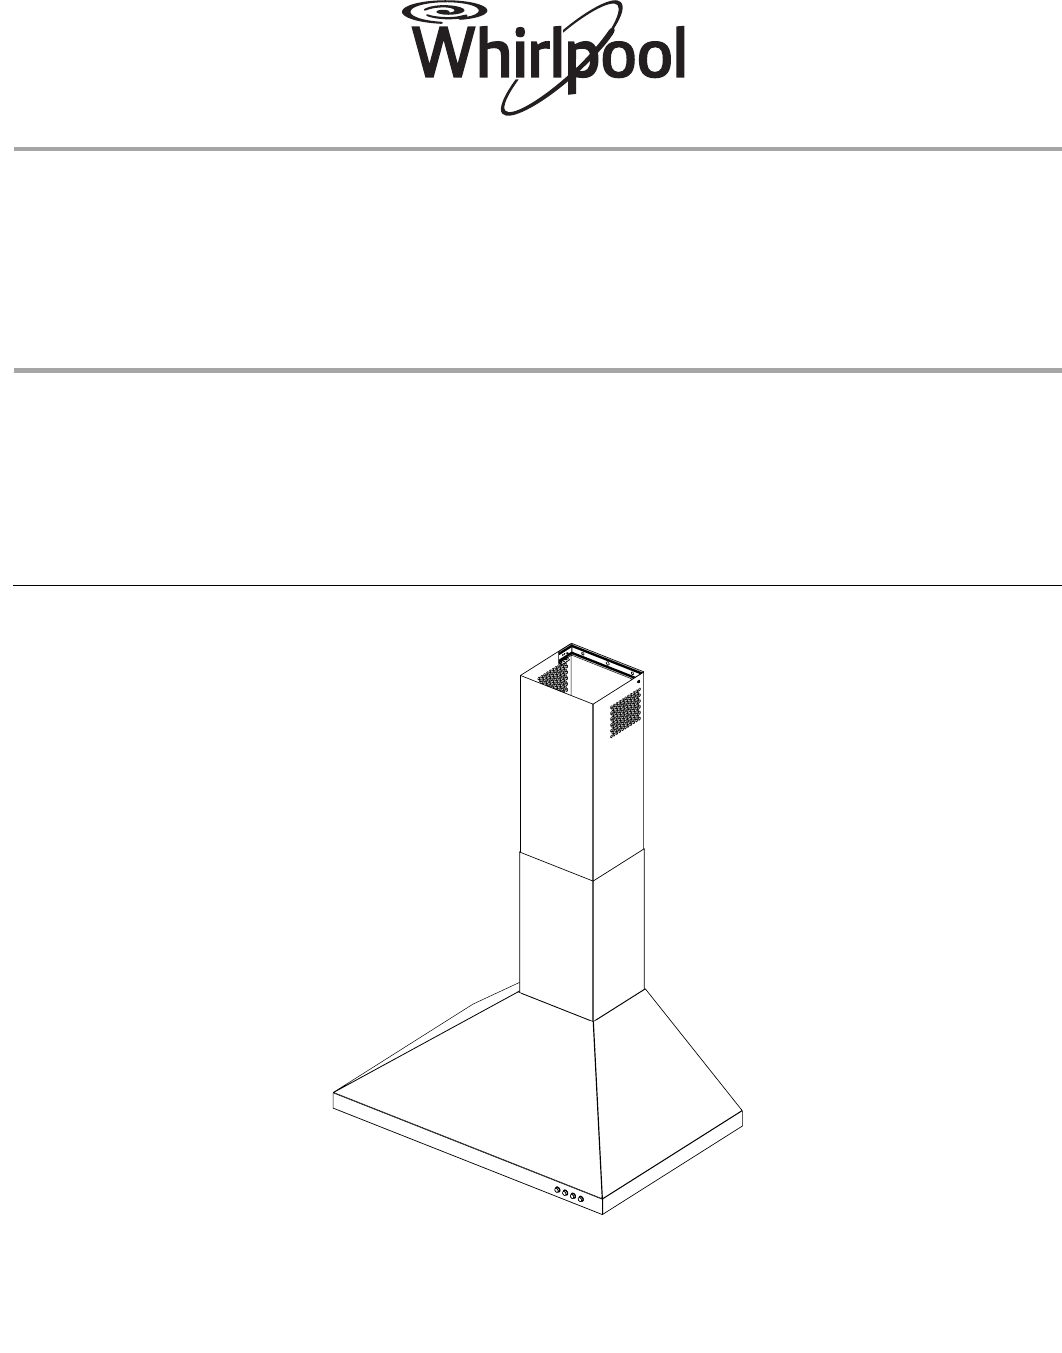
LI30OA/W10458667A30" (76.2 CM)WALL-MOUNT CANOPY RANGE HOODInstallation Instructions and Use & Care GuideFor questions about features, operati
10RANGE HOOD USEThe range hood is designed to remove smoke, cooking vapors and odors from the cooktop area. For best results, start the hood before co
114. Bend spring clips back into place to secure the charcoal filter to the metal filter. 5. Replace metal grease filter. See “Metal Grease Filter” in
12WIRING DIAGRAMS40 Junction BoxLNGndBKWBR (Line)Y (Min. Voltage)GY (Lamps)R (Med. Voltage)BK (Max. Voltage)BRBUYWRBKYYBKRBUWWBUWBRBK Mechanical Pus
13ASSISTANCE OR SERVICEWhen calling for assistance or service, please know the purchase date and the complete model and serial number of your applianc
14WHIRLPOOL CORPORATION MAJOR APPLIANCE WARRANTYLIMITED WARRANTYFor one year from the date of purchase, when this major appliance is operated and main
15SÉCURITÉ DE LA HOTTE DE CUISINIÈRE Risque possible de décès ou de blessure grave si vous ne suivez pas immédiatement les instructions. Risque possib
16IMPORTANTES INSTRUCTIONS DE SÉCURITÉLIRE ET CONSERVER CES INSTRUCTIONSAVERTISSEMENT : POUR RÉDUIRE LE RISQUE D'INCENDIE, CHOC ÉLECTRIQUE OU DOM
17EXIGENCES D'INSTALLATIONOutils et piècesRassembler les outils et composants nécessaires avant d’entreprendre l’installation. Lire et observer l
18Dimensions du produit*Pour installations sans décharge à l'extérieur (recyclage)**Pour installations avec décharge à l'extérieurDimensions
19Installation dans une région à climat froidOn doit installer un clapet anti-reflux additionnel pour minimiser le reflux d'air froid, et incorpo
2TABLE OF CONTENTSRANGE HOOD SAFETY ...2INSTALLATION REQUIREMENTS...
20Spécifications électriquesObserver les dispositions de tous les codes et règlements en vigueur. Vérifier que l'installation électrique a été co
219. Percer des avant-trous de ³⁄₁₆" (4,8 mm) à tous les emplacements de pose des vis dans du bois.10. Installer les 2 vis de montage de 5 x 45 m
22Installations sans décharge à l'extérieur (recyclage) uniquement :1. Assembler le déflecteur d'air sur la bride du cache-conduit à l'
237. À l'aide des connecteurs de fils (homologation UL), connecter le conducteur de liaison à la terre (vert ou nu) du câble d’alimentation du do
24UTILISATION DE LA HOTTELa hotte de cuisinière est conçue pour extraire fumée, vapeurs de cuisson et odeurs de la zone de la table de cuisson. Pour o
25Filtres d'installation sans décharge à l’extérieur (recyclage) :Le filtre à charbon n’est pas lavable. Celui-ci devrait durer pendant 6 mois da
26SCHÉMA DE CÂBLAGES40 Boîtier de connexionLNeuTerreNBLMAR (Ligne)JA (Tension min.)GRIS (Lampes)R (Tension moy.)N (Tension max.)MARBUJABLRNJAJANRBUBL
27ASSISTANCE OU SERVICELors d’un appel pour assistance ou service, veuillez connaître la date d’achat, le numéro de modèle et le numéro de série compl
9. Les frais de transport pour le service d'un produit si votre gros appareil est situé dans une région éloignée où un service d’entretien Whirlp
3IMPORTANT SAFETY INSTRUCTIONSREAD AND SAVE THESE INSTRUCTIONSWARNING: TO REDUCE THE RISK OF FIRE, ELECTRIC SHOCK, OR INJURY TO PERSONS, OBSERVE THE F
4INSTALLATION REQUIREMENTSTools and PartsGather the required tools and parts before starting installation. Read and follow the instructions provided w
5Cabinet Dimensions*For non-vented (recirculating) installationsIMPORTANT:Minimum distance “X”: 24" (61.0 cm) from electric cooking surface.Minim
6For Non-Vented (recirculating) InstallationsIf it is not possible to vent cooking fumes and vapors to the outside, the hood can be used in the non-ve
7INSTALLATION INSTRUCTIONSPrepare Location It is recommended that the vent system be installed before hood is installed. Before making cutouts, make
8Install Range Hood1. Using 2 or more people, hang range hood on 2 mounting screws through the mounting slots on back of hood.2. Remove the grease fil
9Make Electrical Connection1. Disconnect power.2. Remove terminal box cover.3. Remove the knockout in the terminal box and install a UL listed or CSA
Weitere Dokumente für Küche Whirlpool GXW7230DAS


Verwandte Produkte und Handbücher für Küche Whirlpool GXW7230DAS
 (13 Seiten)
 (28 Seiten)
(32 Seiten)
(24 Seiten)
(11 Seiten)
(28 Seiten)
(28 Seiten)
(24 Seiten)
(28 Seiten)
(32 Seiten)
(24 Seiten)
(11 Seiten)
(28 Seiten)
(28 Seiten)
(24 Seiten)
© 2020, manymanuals.de. Alle Rechte vorbehalten. | 0.331 s |
 Manymanuals.com
 Manymanuals.de
 Manymanuals.fr
 Manymanuals.it
 Manymanuals.pl
 Manymanuals.cz
 Manymanuals.es
 Manymanuals-pt.com
Kommentare zu diesen Handbüchern